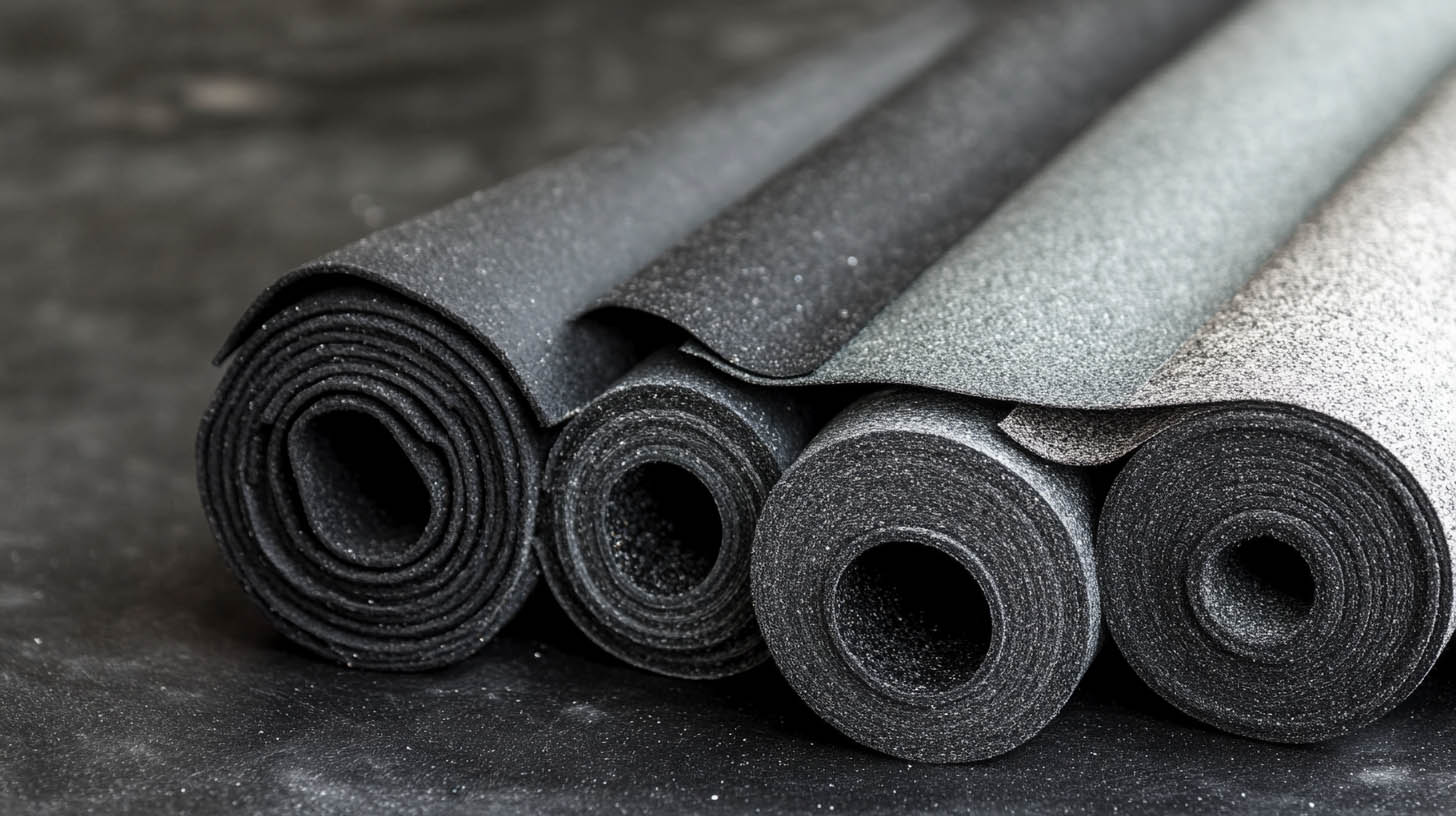
Asphalt roll roofing is a cost-effective and practical solution for low-incline and flat roofs, such as garages and sheds. This guide covers a systematic approach to ensure a durable and weather-resistant installation. For expert roofing services in Charleston, WV, reach out to Rainstoppers Roofing.
What Is Asphalt Roll Roofing?
Asphalt roll roofing is a flexible, sheet-like material designed for quick installation. It resembles traditional asphalt shingles but comes in large rolls for easy application. Commonly reinforced with fiberglass or organic felt, it offers durability and cost efficiency for various roofing needs.
Why Choose Asphalt Roll Roofing?
- Affordability: One of the least expensive roofing options.
- Ease of Installation: Covers large areas quickly.
- Suitability: Ideal for flat or slightly sloped roofs.
- Durability: Provides reliable protection when properly maintained.
Tools and Materials Needed
- Roofing cement/adhesive
- Utility knife
- Chalk line
- Trowel
- Roofing nails
- Measuring tape
- Ladder and fall protection gear
Preparation for Installation
1. Clean and Inspect the Roof
- Remove old shingles, debris, and nails.
- Sweep the surface and inspect for structural damage.
- Repair damaged areas and ensure the roof deck is solid.
2. Apply Underlayment
- Install roofing felt or primer for added protection.
- Ensure each strip overlaps slightly to prevent gaps.
3. Measure and Cut Roofing Rolls
- Measure the roof dimensions, adding extra length for overhangs.
- Use a sharp utility knife to cut the rolls precisely.
Unique Fact:
Asphalt roll roofing should not be installed on slopes less than an 8% incline, as per ASTM D3909 standards.
Installation Process
1. Start at the Bottom
- Begin at the roof’s lowest edge to create a watertight barrier.
- Unroll the first strip, allowing a slight overhang at the eaves.
2. Apply Roofing Cement
- Spread an even layer of roofing cement across the roof section.
- Use a trowel to ensure complete coverage, focusing on edges and overlaps.
3. Secure the Roll
- Nail the roll at intervals of 6–8 inches along the edges and center.
- Overlap each subsequent roll by at least 2 inches.
4. Seal the Edges
- Apply roofing cement to all seams and edges.
- Smooth the cement with a trowel to ensure a watertight seal.
5. Address Features
- Cut around vents, chimneys, and skylights with precision.
- Add flashing to these areas for extra protection.
Finishing Touches
Install Flashing
- Place flashing along edges and vulnerable areas.
- Nail it securely and seal with roofing cement.
Inspect for Wrinkles and Bubbles
- Smooth out imperfections to prevent moisture retention.
Clean Up
- Remove debris and unused materials to maintain a clean roof surface.
Safety Considerations
- Wear non-slip footwear and gloves.
- Use a safety harness when working at heights.
- Avoid working during wet or icy conditions.
FAQs
1. Can I install asphalt roll roofing myself?
Yes, but professional installation ensures better quality and safety.
2. How long does asphalt roll roofing last?
With proper maintenance, it can last up to 10–20 years.
3. Is asphalt roll roofing suitable for steep roofs?
No, it’s best for low-incline or flat roofs.
4. How do I prevent leaks?
Seal all edges and overlaps with high-quality roofing cement.
5. Do I need a permit for asphalt roll roofing?
Check local building codes; permits may be required in some areas.
Conclusion
Installing asphalt roll roofing is a straightforward project with the right tools and preparation. By following these steps, you can achieve a durable and weather-resistant roof. For a professional touch and guaranteed results, consider reaching out to Rainstoppers Roofing.If you want to read a blog about how long it takes to replace a roof, click here.
