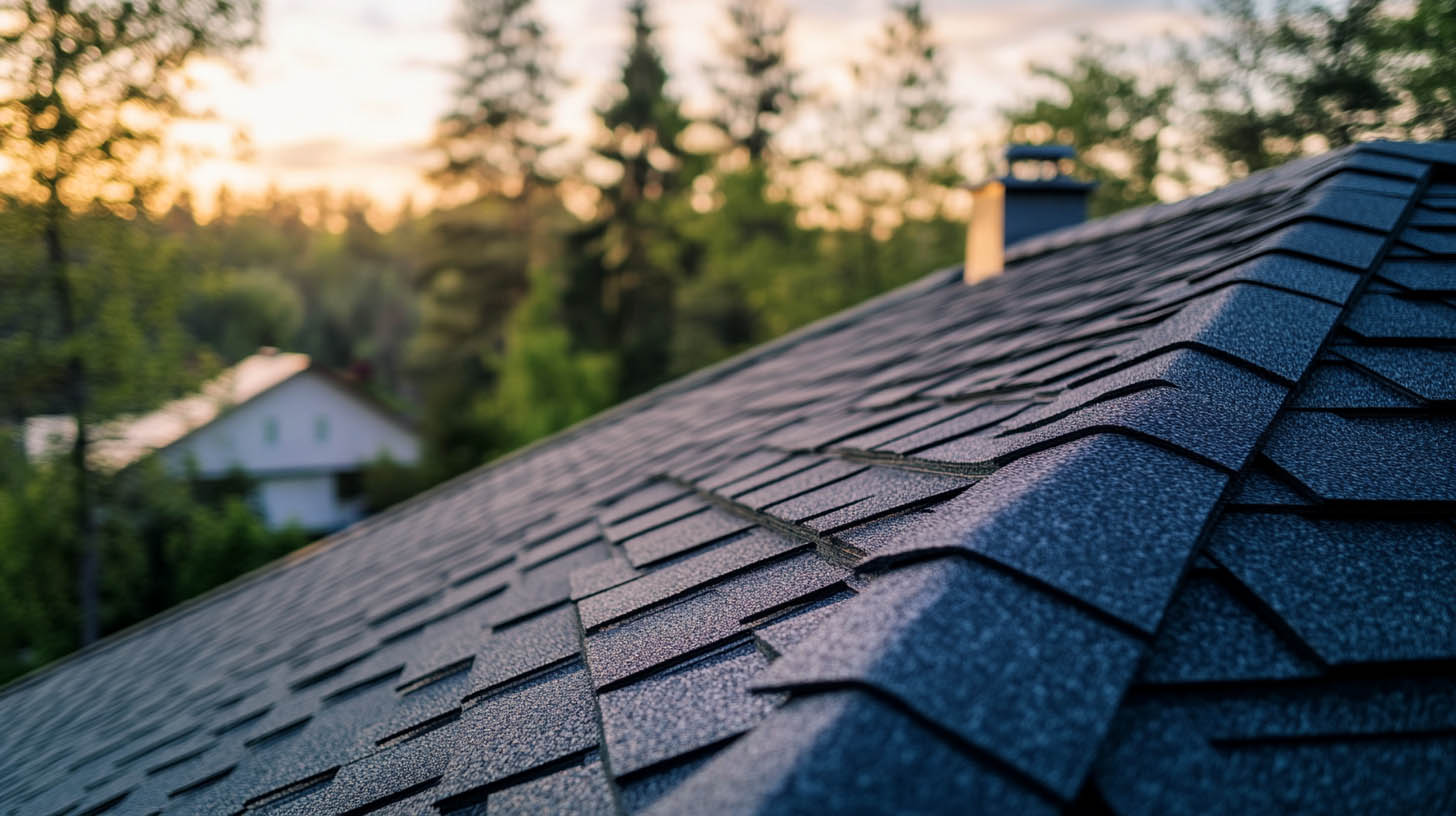
Installing shingles is a practical way to protect your home and enhance its appearance. A properly executed installation ensures durability and weather resistance. Rainstoppers Roofing in Charleston, WV, offers professional roofing services to homeowners, providing expert guidance on every aspect of shingle installation. Here’s a comprehensive guide.
Preparation: The Foundation of Success
Inspect and Prepare the Roof Deck
Begin by removing old roofing materials and cleaning the roof deck thoroughly. Check for structural issues such as rot or weakened areas and make necessary repairs. A well-prepared roof deck can significantly extend the life of your shingles.
Apply the Underlayment
The underlayment provides an essential moisture barrier. Roll out an asphalt-saturated felt or similar material horizontally, overlapping each layer by a few inches. Secure it with nails or staples, ensuring a smooth, taut fit.
Laying the Shingles: Building a Durable Shield
Start with the Eaves
Install a starter strip at the roof’s edge to ensure proper water shedding. This strip creates a base for the shingles and prevents water infiltration at the edges.
Lay the First Row of Shingles
Align the first shingle with the eaves, allowing for slight overhang. Secure it with roofing nails placed within the designated nailing area. This placement ensures the shingles remain firmly attached, even during high winds.
Continue Up the Roof
Work row by row, overlapping each layer by approximately five to six inches. This staggered arrangement prevents water from seeping between the layers. Stagger the joints in alternating rows for added durability and stability.
Finishing Touches: Ridge Shingles and Trimming
Install Ridge Shingles
At the roof’s peak, apply ridge shingles to seal the top and provide a polished look. Secure them with adhesive or nails, ensuring they overlap correctly.
Trim Excess Material
Use a utility knife to trim overhanging shingles for a clean finish. Proper trimming not only enhances appearance but also prevents wind damage.
Safety and Professional Help
While installing shingles can be a rewarding DIY project, safety is paramount. Always use proper equipment and consult professionals when needed. Rainstoppers Roofing provides expert installation services for homeowners seeking long-lasting solutions.
FAQs
What tools are needed for shingle installation?
Essential tools include a hammer, roofing nails, utility knife, chalk line, and roofing adhesive.
Can shingles be installed on top of old ones?
While some shingles can be layered over existing ones, it’s better to remove old materials to inspect the roof deck and ensure a smoother installation.
How long does shingle installation take?
A standard-sized roof may take two to five days to shingle, depending on weather and complexity.
Are ridge shingles necessary?
Yes, ridge shingles protect the roof’s peak from water infiltration and enhance its finished look.To discover the best roof replacement companies for your home, click here.
