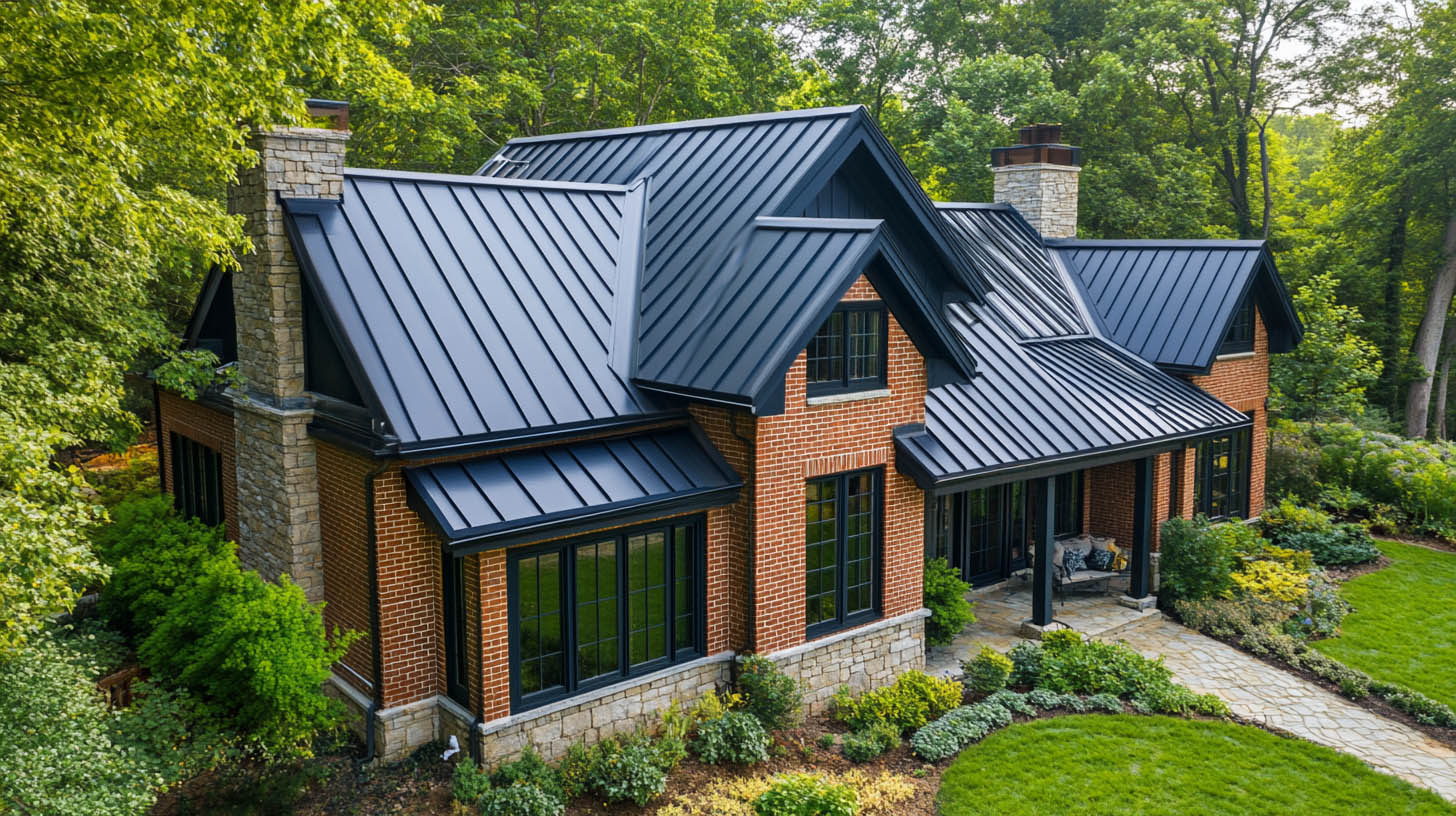
Metal roofing is known for its durability, energy efficiency, and long lifespan, making it an excellent choice for homeowners looking to upgrade their roofs. Although installing a metal roof may seem daunting, it’s a project that can be completed with the right tools and careful planning. Whether you’re a seasoned DIY enthusiast or new to home improvement projects, Rainstoppers Roofing in Charleston, WV, provides a guide to help you install a metal roof efficiently.
Top Benefits of Metal Roofing
Before diving into the installation process, it’s important to understand the benefits of choosing a metal roof:
- Long Lifespan: Metal roofs last 50 years or more, significantly outlasting traditional asphalt shingles.
- Energy Efficiency: Metal roofing reflects sunlight, reducing cooling costs in the summer and providing insulation during colder months.
- Fire Resistance: Metal roofs are highly fire-resistant, making them a safe option for homes in wildfire-prone areas.
- Low Maintenance: Metal roofing requires minimal upkeep compared to other materials, helping you save on future repairs.
Fact: Metal roofs can last up to three times longer than asphalt shingles, which typically have a lifespan of 20-25 years.
Types of Metal Roofing Materials
When considering a metal roof, there are several popular materials to choose from:
- Steel: Durable and cost-effective, though it may require treatments to prevent rust.
- Aluminum: Lightweight and corrosion-resistant, aluminum is ideal for coastal areas.
- Zinc: Known for its eco-friendly properties, zinc roofing is durable but more expensive than other materials.
Metal Roof Installation Step-by-Step
1. Measure the Roof Area
Accurate measurements are critical before you begin installation. Start by measuring the width and length of each roof section, and then calculate the total square footage. Don’t forget to factor in the roof’s slope when calculating materials, as steeper roofs require additional materials.
Add 10% to your material order to account for waste and cutting errors.
2. Remove the Old Roof
Before installing the new metal roof, you must remove any old roofing materials, such as shingles. Carefully pry them off and ensure the underlying roof deck is clean and free of debris. Inspect for loose nails and damaged areas, and repair the deck if needed.
Tip: Perform this task on a dry day to avoid water damage to your home’s interior during the project.
3. Prepare the Roof Deck and Make Repairs
If the roof deck shows signs of damage, this is the time to make necessary repairs. A solid and well-prepared foundation ensures that your new metal roof will be durable and long-lasting.
4. Install Roof Underlayment
Begin by installing the underlayment, starting at the eaves and working your way toward the ridge. Secure the underlayment with nails or staples, making sure to overlap each section for maximum water protection. The underlayment acts as a barrier against moisture, providing an extra layer of protection for your home.
5. Install Edging (Eave Flashing)
Metal edging strips, also known as eave flashing, should be installed along the roof’s edges. These strips help keep the metal roof panels in place and provide additional water resistance. Use sealant tape alongside the edgings to create a tight seal.
6. Install the Metal Roof Panels
Start installing the metal panels at the bottom edge of the roof, ensuring they are aligned squarely with the structure. Each panel should overlap the next by 3-4 inches to prevent water from seeping through the gaps. Use screws to fasten the panels to the roof deck.
If your roof has irregular angles, be prepared to cut the panels to fit. Measure carefully before cutting to avoid wasting materials.
7. Install Flashing
Flashing is placed around roof elements like chimneys, skylights, and vents to block water from seeping into these more vulnerable areas. It is typically made from flexible metal and acts as a barrier, sealing the spaces between the roof surface and these features, helping maintain a watertight roof structure.
8. Install the Ridge Cap and Gutters
The ridge cap is the final piece installed at the peak of the roof. It covers the gap where the metal panels meet and provides the finishing touch to your metal roof. After securing the ridge cap, install the gutters to manage water runoff. Properly installed gutters help protect your home’s foundation and prevent water damage.
Conclusion
Installing a metal roof requires careful planning and execution, but it’s a worthwhile investment for homeowners seeking durability and energy efficiency. By following this step-by-step guide and working with a trusted contractor like Rainstoppers Roofing, you can ensure that your new metal roof will provide long-lasting protection for your home.
FAQs
- How long does a metal roof last?
Metal roofs typically last 50 years or more, far outlasting asphalt shingles. - Can I install a metal roof over existing shingles?
In some cases, you can install metal roofing over an existing shingle roof, but it’s essential to check with local building codes and consult a professional. - What are the main benefits of metal roofing?
Metal roofing is durable, energy-efficient, fire-resistant, and requires minimal maintenance. - How do I maintain a metal roof?
Metal roofs require little maintenance, but periodic inspections and cleaning are recommended to ensure long-term performance. - Is a metal roof worth the cost?
Yes, while the upfront cost may be higher than other materials, metal roofs last significantly longer and offer long-term savings through reduced maintenance and energy efficiency.
To learn about the top benefits of installing gutter guards, click here.
