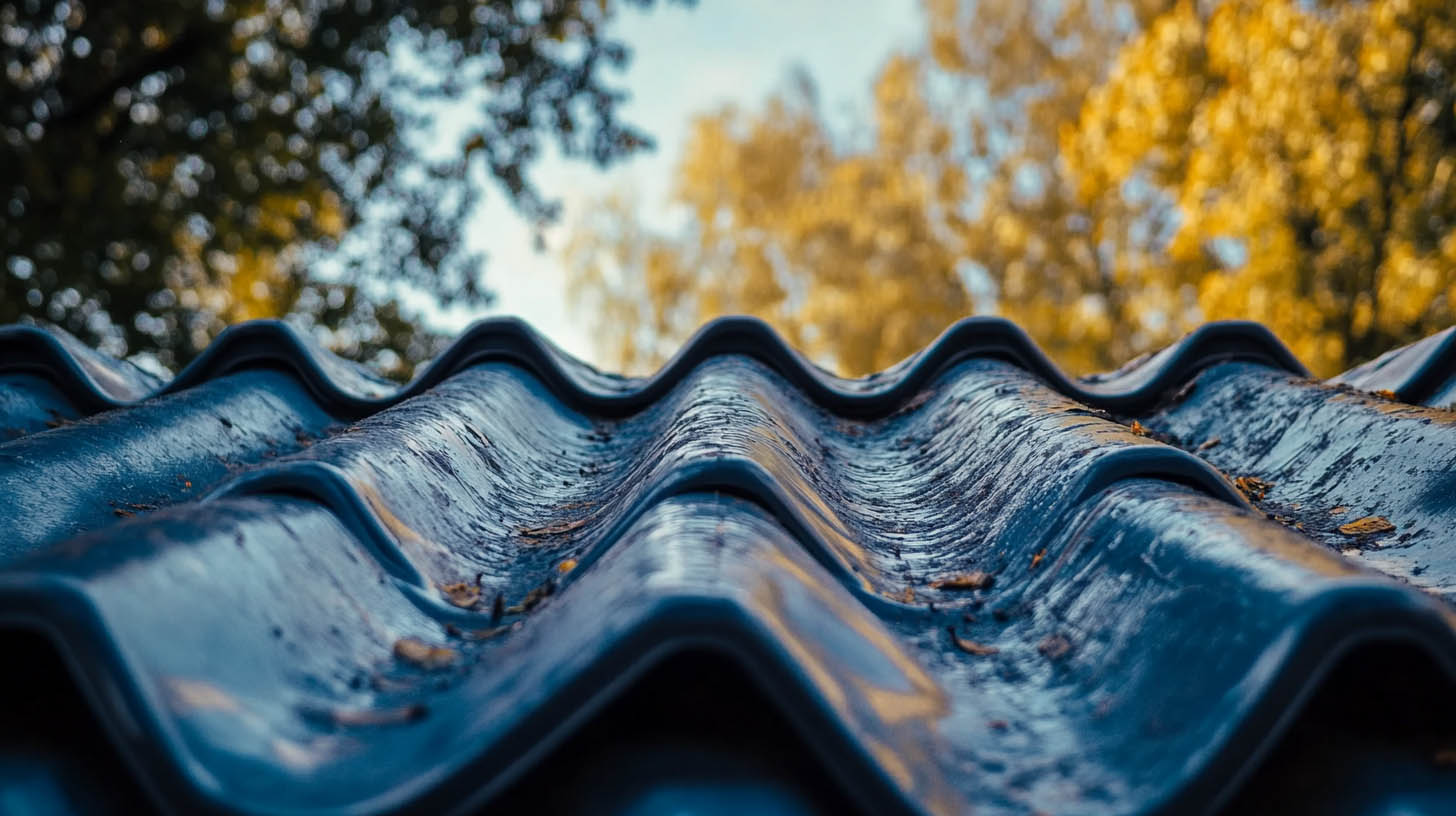
Protecting your home after roof damage is critical to preventing further issues. For homeowners in Charleston, WV, Rainstoppers Roofing offers expert advice and services to address roofing emergencies efficiently. Here’s how to tarp a roof safely and effectively.
When Should You Tarp a Roof?
Roof tarping is necessary after severe weather events like storms or hurricanes, which can dislodge shingles, puncture the roof, or expose structural vulnerabilities. Temporary tarps shield your home from leaks, mold growth, and further structural damage.
Fact Highlight: During Hurricane Ian, Florida launched the “Operation Blue Roof” program to provide temporary tarps to thousands of affected homes, showcasing the importance of immediate roof coverage.
Choosing the Right Tarp for Your Roof
Types of Tarps
- Vinyl Tarps: Durable, waterproof, and resistant to UV rays. Ideal for long-term use.
- Poly Tarps: Lightweight, cost-effective, and suitable for short-term applications.
- Canvas Tarps: Breathable but less water-resistant unless treated. Best for temporary fixes.
Sizing and Strength
Measure the damaged area carefully and choose a tarp large enough to extend beyond the affected zone for added security.
Tools and Materials Needed
- Heavy-duty tarp
- Furring strips
- Roofing nails or screws
- Utility knife or scissors
- Hammer or drill
- Ladder (with stabilizer)
- Safety harness
Step-by-Step Guide to Tarping a Roof
1. Inspect the Damage
Before starting, assess the roof’s condition. Identify punctures, missing shingles, or structural damage. Whenever possible, inspect the area from inside the attic for safety.
2. Prepare the Roof Surface
Clear debris like broken shingles, branches, and dirt. Smooth down jagged edges and dry the surface thoroughly to ensure the tarp adheres well.
3. Measure and Cut the Tarp
Lay out the tarp over the damaged area and cut it to size, leaving an overhang of at least 4 feet on each side for secure anchoring.
4. Secure the Tarp’s Top Edge
Anchor the top edge with furring strips and nails. Ensure the nails penetrate the roof’s rafters for maximum stability.
5. Stretch and Fasten the Tarp
Pull the tarp tightly over the damage and secure it along the sides and bottom using additional furring strips. Avoid wrinkles or air pockets, which can allow water or wind to penetrate.
6. Double-Check Your Work
Inspect all anchoring points to ensure they are secure. Tighten any loose nails and verify that the tarp is taut and effective.
Common Mistakes to Avoid
- Using an Undersized Tarp: Always ensure the tarp fully covers the damaged area with an adequate overhang.
- Inadequate Anchoring: Secure the tarp properly to withstand strong winds and heavy rain.
- Ignoring Safety Precautions: Never attempt to tarp a roof during adverse weather or without proper equipment.
FAQs
Q1: Can I tarp a roof during a storm?
No, wait for safer weather conditions to minimize risks. Wet roofs are slippery and dangerous.
Q2: How long can a tarp stay on my roof?
Tarps are temporary solutions and should be replaced or removed within 90 days.
Q3: What type of tarp is best for emergencies?
Vinyl tarps are the most durable and weather-resistant option for emergency use.
Q4: Can I install a tarp without professional help?
While possible, hiring professionals ensures safety and effectiveness, especially for extensive damage.
Q5: Will my insurance cover tarping costs?
Most homeowner insurance policies cover temporary repairs after storm damage.To weigh the pros and cons of metal roofs and find out if they’re truly better, click here.