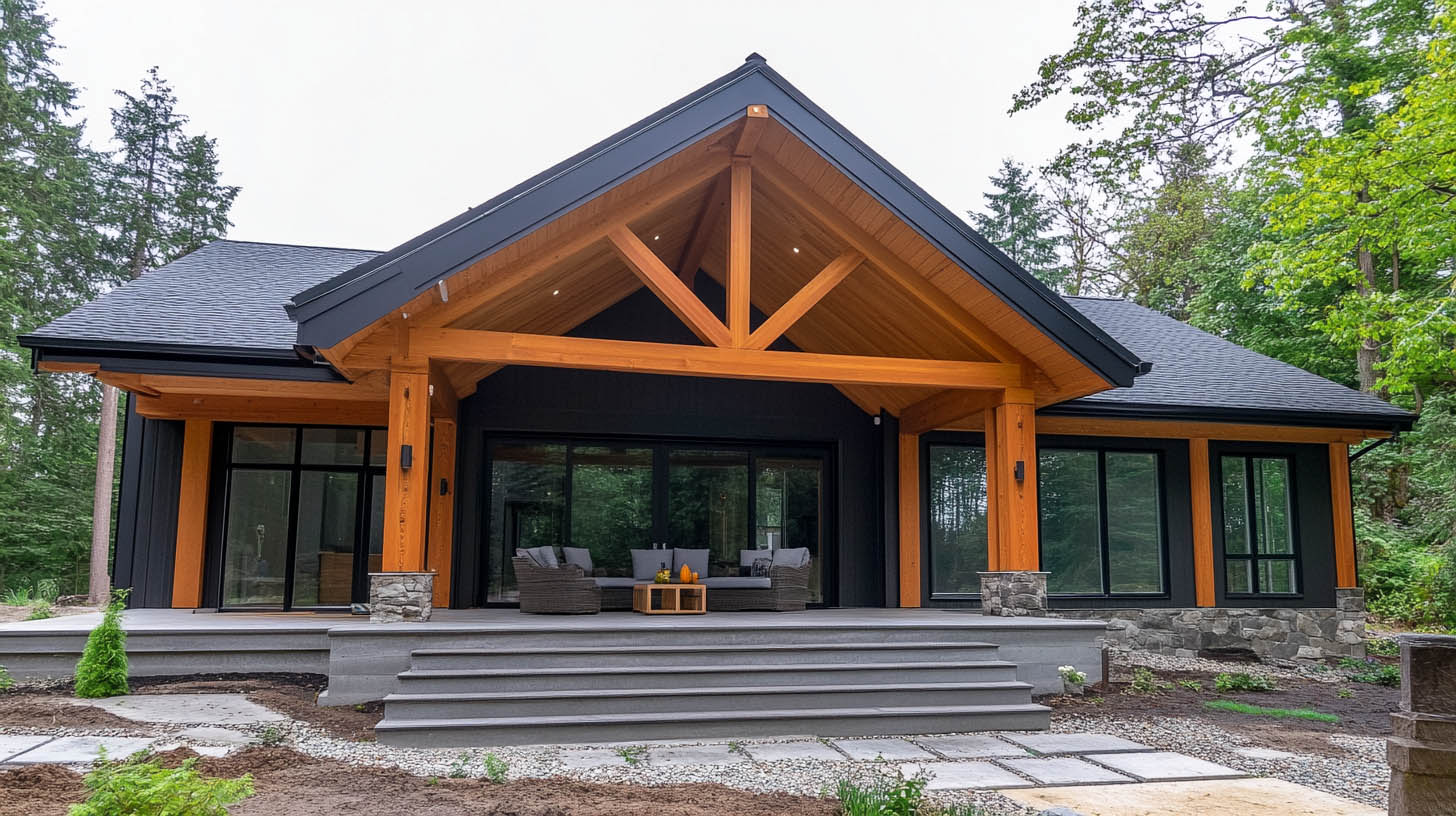
Roof trusses are critical components of any roofing structure, ensuring stability and support. Proper planning, accurate measurements, and careful assembly are essential for creating strong trusses. In Charleston, WV, Rainstoppers Roofing provides professional guidance for building and installing durable roof trusses.
Understanding Roof Trusses
What Are Roof Trusses?
Roof trusses are triangular frameworks that distribute the weight of the roof evenly across the building’s walls. They support roofing materials, handle loads such as snow and wind, and provide stability to the structure.
Types of Roof Trusses
Common types include:
- Fink Truss: Features a “W” shape for strong internal support.
- King Post Truss: Simple design suitable for smaller spans.
- Scissor Truss: Allows for vaulted ceilings with a unique shape.
Key Insight: Roof trusses are designed to optimize load distribution, making them more efficient than traditional rafter systems.
Preparation Before Building
Check Building Codes
Consult local building codes to ensure compliance with safety standards. The 2018 International Residential Code (IRC) provides detailed requirements for wood truss design.
Gather Tools and Materials
- Measuring tape
- Circular saw
- Triangle square
- Gusset plates (plywood or steel)
- Lumber
- Screws and construction adhesive
Measuring and Planning
Measure the Building
Determine the width of the structure and the desired roof height to calculate truss dimensions.
Calculate Truss Dimensions
Using the building’s width and roof height, design the triangle’s base (bottom chord) and sides (top chords). For enhanced support, include internal joists forming a “W” shape.
Designing the Truss
Create a Detailed Sketch
Draft a detailed plan, ensuring all measurements are accurate. Use graph paper or architectural software to visualize the design.
Select Gusset Plates
Choose gusset plates based on local building regulations. Steel plates offer enhanced strength, while plywood plates are cost-effective.
Building the Truss
Cut the Lumber
Mark the lumber with a triangle square for precision. Use a circular saw to cut all pieces according to the plan.
Assemble the Truss
Arrange the bottom chord, top chords, and internal joists on a flat surface. Verify the fit before securing the joints.
Secure with Gusset Plates
Apply adhesive to joints, then attach gusset plates using screws. Ensure all plates are firmly secured for maximum stability.
Tip: Allow the adhesive to cure overnight for a stronger bond.
Final Steps
Inspect the Truss
Check all joints and gusset plates for gaps or weaknesses. Tighten screws as needed and reinforce high-stress areas with extra bracing.
Prepare for Installation
Ensure walls are level and ready to support the trusses. Double-check all measurements before installation.
FAQs
What materials are best for gusset plates?
Steel offers superior durability, while plywood is a budget-friendly option.
How long does it take to build a truss?
Depending on complexity, a single truss can take a few hours to assemble.
Can trusses support heavy loads?
Yes, with proper design and bracing, trusses can handle significant loads, including snow and wind.
Are pre-fabricated trusses better than DIY?
Pre-fabricated trusses save time and ensure precision but may cost more than building trusses yourself.
Should I consult a professional for truss design?
Yes, especially for large or complex projects, to ensure structural integrity and compliance with local codes.
Conclusion
Building roof trusses requires meticulous planning, precise measurements, and attention to detail. Whether constructing a simple design or a more complex framework, following these steps ensures durability and safety. For homeowners in Charleston, WV, partnering with Rainstoppers Roofing guarantees expertly crafted trusses tailored to your roofing needs.If you want to read a blog about the best places to buy roof shingles, click here.
