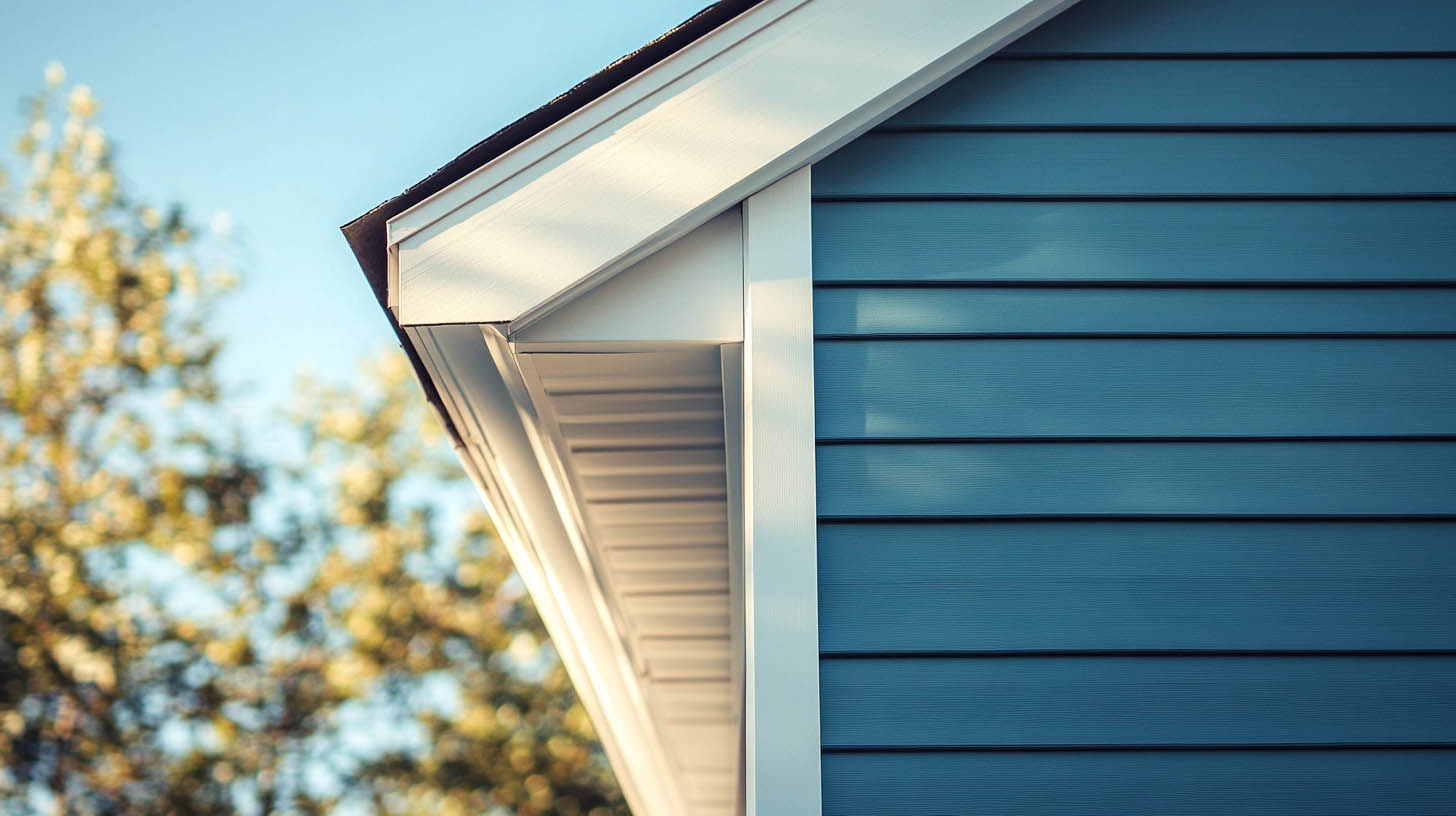
Vinyl siding is a durable and attractive option for many homeowners, but damage can occur over time. Instead of hiring a contractor, you can handle minor repairs yourself with the right tools and techniques. In Charleston, WV, Rainstoppers Roofing offers reliable services if you prefer professional assistance.
Tools and Materials for Vinyl Siding Repair
Before starting, gather essential tools like a hammer, nails, utility knife, snips, and a zip tool. A zip tool is particularly useful for snapping the siding into place. Match replacement materials to your existing siding by choosing the same manufacturer and color to maintain uniformity. On average, vinyl siding repairs cost significantly less than full replacements, making DIY a cost-effective choice.
Steps for Replacing Damaged Vinyl Siding
Remove the damaged siding by inserting your hand above the area to snap it out of the groove. Use a hammer’s claw to extract the nails holding the damaged section. Once removed, prepare the new vinyl strip by aligning it at an angle behind the existing siding, ensuring the snapping piece locks securely into the grooves. Nail the strip into place, leaving slight flexibility to accommodate expansion due to temperature changes.
Using Old Siding for Repairs
If the damage is minor, consider using old siding as a patch. Cut the usable piece to the desired length, removing excess nailing and snapping strips to allow the patch to lay flat. Slide the patch into place, ensuring it overlaps properly, and secure it with nails. A zip tool can help snap the top siding into the patch if manual effort isn’t enough.
Unique Fact: Vinyl siding can expand and contract by up to ¼ inch with temperature changes, making proper overlaps and flexibility crucial for long-term durability.
Common Overlapping Mistakes
Improper overlaps can lead to gaps and exposure, especially during contraction in colder weather. Maintain a consistent overlap of 1 to 1¼ inches for optimal protection. Ensure the nailing strip ends are about ¼ inch apart to allow for smooth movement during temperature shifts.
Tips for Ensuring a Professional Finish
Remove old siding carefully to avoid damaging the surrounding areas. Always use a matching color and texture for seamless repairs. When working in hard-to-reach areas, consider enlisting professional help. For larger repair needs or structural damage, professional contractors ensure a durable and aesthetically pleasing outcome.
Conclusion
DIY vinyl siding repair can save time and money, but it requires attention to detail. Whether you’re patching a small section or replacing an entire strip, using proper tools and techniques ensures lasting results. For expert guidance or professional assistance in Charleston, WV, Rainstoppers Roofing is the trusted name in siding and roofing repairs.
FAQs
Q1: Can I repair vinyl siding in cold weather?
Cold temperatures can make vinyl brittle, increasing the risk of cracks. It’s best to perform repairs during moderate weather conditions.
Q2: What’s the most common cause of vinyl siding damage?
Common causes include impact damage from debris, UV exposure leading to discoloration, and improper installation.
Q3: How often should I inspect my vinyl siding for damage?
Annual inspections and after severe weather events are recommended to identify and address issues early.To learn about new roof installation inspections and what to expect, click here.